
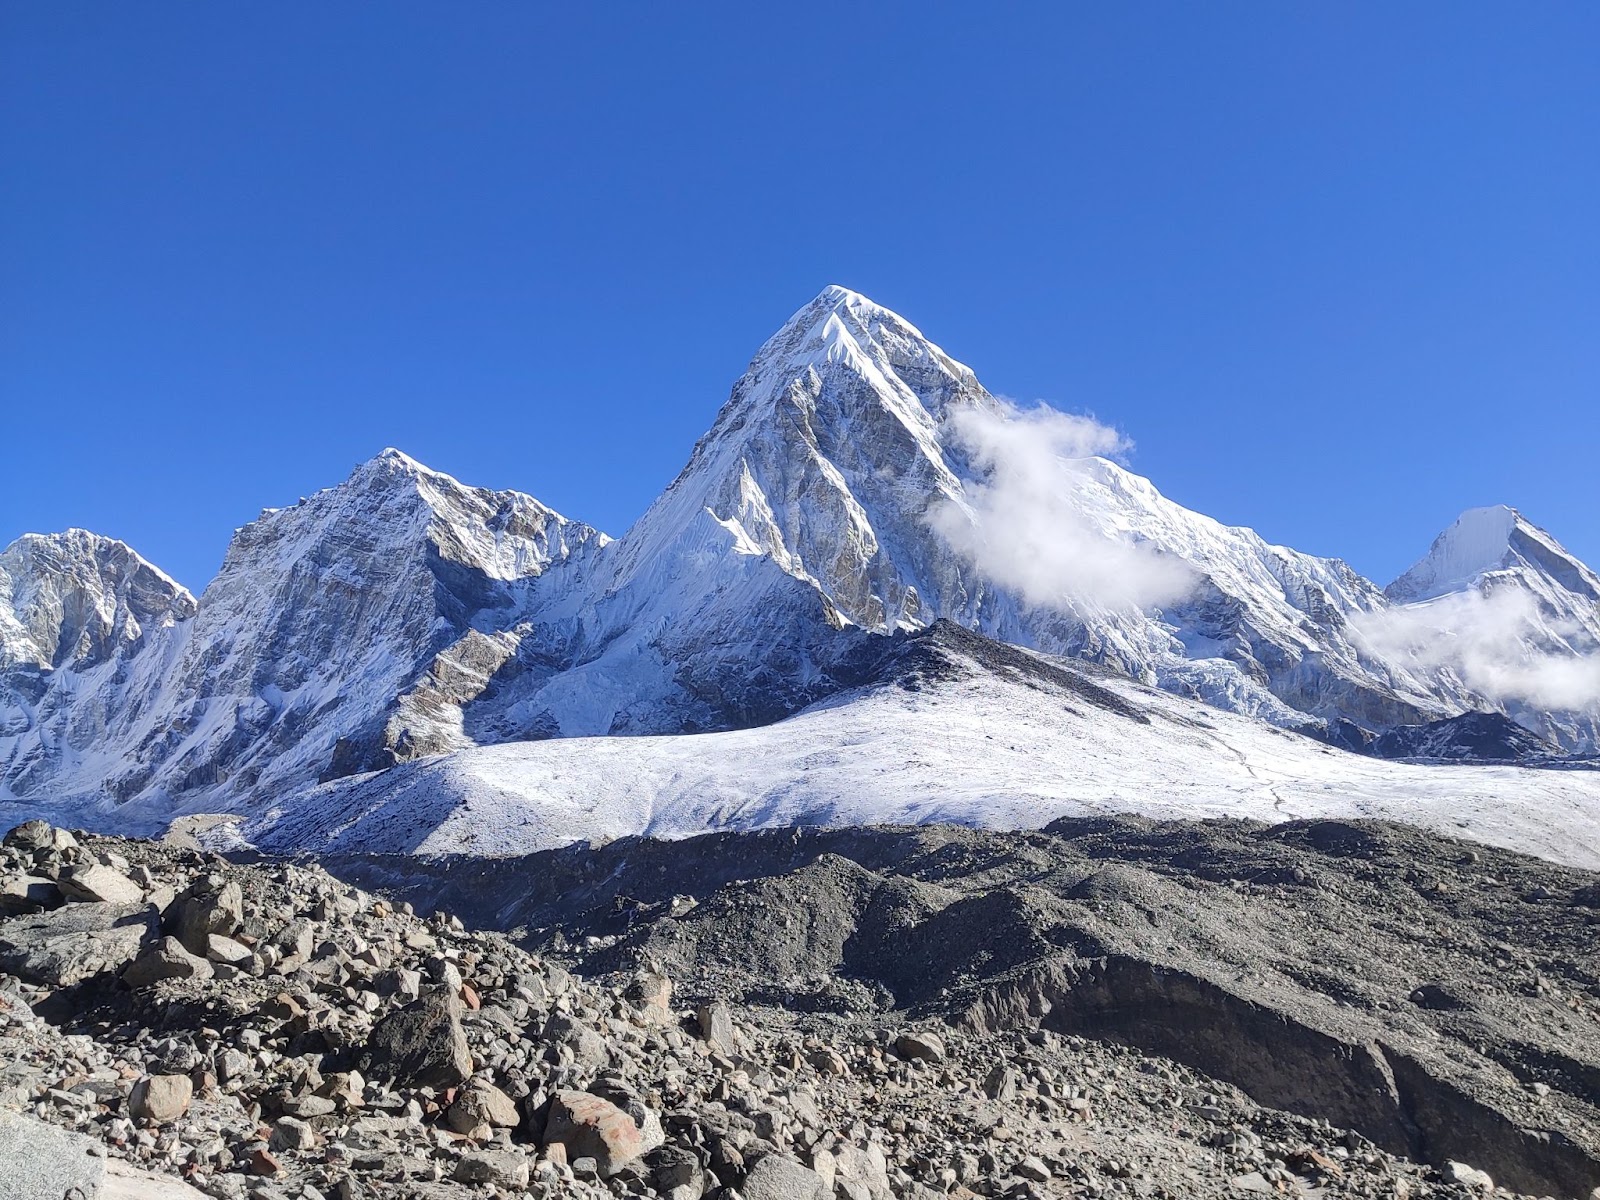
Trekking through the Himalayas is not just about the physical journey — it’s also a visual feast. Snow-capped peaks, vibrant sunsets, prayer flags fluttering in the wind, and trails lined with rhododendrons make for picture-perfect moments at every turn.
But capturing these scenes well takes more than just pointing and shooting. Whether you’re trekking to Everest Base Camp, Annapurna Base Camp, or any other trail in Nepal, here are 12 tips to help you take better photos during your trek.
1. Start Early in the Day
The best light for mountain photography is usually in the early morning. The skies are generally clearer, and the golden hour light casts a soft glow on the peaks, bringing out textures and colors.
On the Everest Base Camp Trek, this tip is particularly important. The early morning views from Lobuche, Gorak Shep, or Kala Patthar are often the clearest, with majestic views of Everest, Lhotse, and Nuptse. As the day progresses, clouds tend to build, obscuring the mountains. Wind also picks up, making handheld photography harder and less stable. By starting early, you can take advantage of the calm and crisp light conditions.
2. Bring the Right Camera Gear
Carrying a DSLR or mirrorless camera will give you the best results in terms of image quality. A lightweight camera with manual controls allows you to adjust settings according to the lighting. A wide-angle lens is great for capturing vast landscapes, while a zoom lens helps capture distant peaks or candid portraits of people and yaks on the trail.
If you’re using a smartphone, consider using a mobile gimbal or small tripod for stability. Also, learn how to shoot in Pro or RAW mode for better post-editing flexibility.
3. Carry Extra Batteries and Power Backup
Cold weather and high altitude drain battery life quickly. Make sure to carry at least 2–3 fully charged spare batteries or a high-capacity power bank.
This becomes crucial on the Annapurna Base Camp Trek, especially beyond Deurali, where electricity becomes scarce. Machhapuchhre Base Camp (MBC) and Annapurna Base Camp (ABC) rely heavily on solar power. During cloudy days or busy seasons, you might not get a chance to recharge your devices at all. Ironically, this section of the trail offers some of the most photogenic scenes — panoramic views of Annapurna I, Fishtail, and the surrounding glaciers. Missing your chance here due to dead batteries would be frustrating, so plan ahead.
4. Learn the Basics of Photography
You don’t need to be a professional photographer, but understanding concepts like the rule of thirds, exposure, ISO, and shutter speed will greatly enhance your photos. Practice before your trip so you’re confident adjusting settings on the go.
Use a lower ISO for daytime shots and increase it slightly during low-light or early morning conditions. Adjust the aperture to control depth of field — a wider aperture (lower f-stop) can isolate subjects, while a narrow aperture (higher f-stop) is great for landscapes.
5. Use a Lightweight Tripod
A small, collapsible tripod can help you take long exposure shots of waterfalls, starlit skies, or sunrise timelapses. It also stabilizes your camera when using slow shutter speeds. On longer treks, avoid heavy gear but do bring something reliable enough to hold your camera steady.
On clear nights, especially in remote areas like Dingboche or Manang, the starry sky is breathtaking. A tripod enables you to take sharp night shots without blurring.
6. Include Human Element
Adding a person in your landscape photos — even as a silhouette — gives a sense of scale to the towering mountains and endless trails. It also makes your photo feel more immersive and relatable.
Capture fellow trekkers walking along a ridge, sitting on a viewpoint, or resting near a chorten. A lone hiker under the towering face of Annapurna or with Everest in the background can turn an ordinary shot into a dramatic and emotional image.
7. Keep Your Gear Safe and Dry
Trekking environments can be unpredictable. Sudden snowfall, rain, or even high-altitude dust can damage your gear. Carry a waterproof camera bag or dry sack. Also bring lens cloths to clean off fog or moisture.
On trails like the Manaslu Circuit or Langtang Valley, you’ll cross streams, suspension bridges, and exposed areas — all posing risks to your equipment. Take extra care when shooting near water or in windy areas.
8. Take Advantage of Natural Framing
Use prayer flags, trees, windows, or stone archways to frame your subject. This adds depth and context to your shots and leads the viewer’s eye toward the main subject.
For example, framing Ama Dablam with colorful prayer flags in Tengboche or shooting Machapuchare through a teahouse window near Chhomrong can create stunning visual effects.
9. Be Patient and Observe
Sometimes, the best photo isn’t the one you rushed to capture, but the one you waited for. Watch the clouds move, the light change, or wait for someone to walk into your frame.
This is particularly rewarding in places like Gokyo Lakes, where the still water can reflect mountains like a mirror — but only if there’s no wind. Sit quietly, observe, and time your shot for when nature presents its best.
10. Shoot in RAW Format
If your camera or smartphone supports RAW, use it. RAW images retain all the data from the sensor, giving you much more flexibility during editing without loss of quality.
This is useful in high-contrast settings like snowy mountains under bright sunlight, where parts of the photo can be overexposed or underexposed. RAW lets you adjust highlights and shadows more effectively than JPEG.
11. Capture the Culture and People
Don’t just focus on mountains. Capture portraits of locals, monks, or fellow trekkers. Photograph bustling markets, monasteries, and traditional homes. Trekking is also a cultural journey, and these images often hold more emotional weight than even the mountains.
On the Everest or Annapurna trails, you’ll pass through Sherpa, Gurung, and Magar villages — take time to respectfully photograph local life, architecture, and traditions.
12. Tell a Story Through Your Photos
Instead of shooting random snapshots, think of your trek as a visual story. Begin with the early excitement in Kathmandu or Pokhara, continue with the challenges and joys of the trail, and end with the triumph at the destination.
Capture details: steaming mugs of tea, muddy boots, trail signs, yak caravans, and even moments of rest. These images help convey the full experience of your journey when you look back or share with others.
Final Thoughts
Great trekking photography is not just about expensive gear or the perfect lighting. It’s about awareness, patience, and being present in the moment. Whether you’re aiming for sunrise shots at Poon Hill, glacier views from Everest Base Camp, or golden sunsets over the Annapurna range, the Himalayas offer endless photographic opportunities.
Prepare your equipment, understand your environment, and most importantly, enjoy the journey. After all, the best photos are not just technically good — they’re the ones that remind you of how it felt to be there.
