

Google Pay makes it easy to send and receive money through UPI, but sometimes you may want to change your existing UPI ID. You might want a different ID because your current one is difficult to remember or you simply prefer another available option.
If you are searching for how to edit UPI ID in Google Pay, it is important to know that Google Pay does not provide a simple edit option for an existing UPI ID. Instead, you can delete the current UPI ID and create a new one, depending on the options available for your linked bank account.
In this guide, we will explain how to edit UPI ID in Google Pay step by step. We will also cover how to delete an existing UPI ID, create a new one, find your UPI ID, and understand what happens after changing it.
What Is a UPI ID in Google Pay?
A UPI ID is a unique payment address that allows you to send and receive money through the UPI system without sharing your bank account number every time. In Google Pay, your UPI ID is connected to your linked bank account and can be used by others to send money to you.
A UPI ID generally looks like an email address, with a unique name followed by a UPI handle. The exact format can vary depending on the UPI service and the options available in Google Pay.
Why Might You Want to Change Your UPI ID?
There can be different reasons for wanting to change a UPI ID. You may want an ID that is easier to remember, prefer a different available ID, or simply want to use another UPI ID associated with your bank account.
If you are looking for how to edit UPI ID in Google Pay, remember that Google Pay does not normally let you directly edit the characters of an existing UPI ID. Instead, the available process involves deleting an existing UPI ID and creating a new one.
UPI ID and UPI PIN Are Different
Your UPI ID is your payment address, while your UPI PIN is the security code used to authorize UPI transactions. Changing your UPI ID does not mean changing your UPI PIN.
Can You Edit a UPI ID Directly in Google Pay
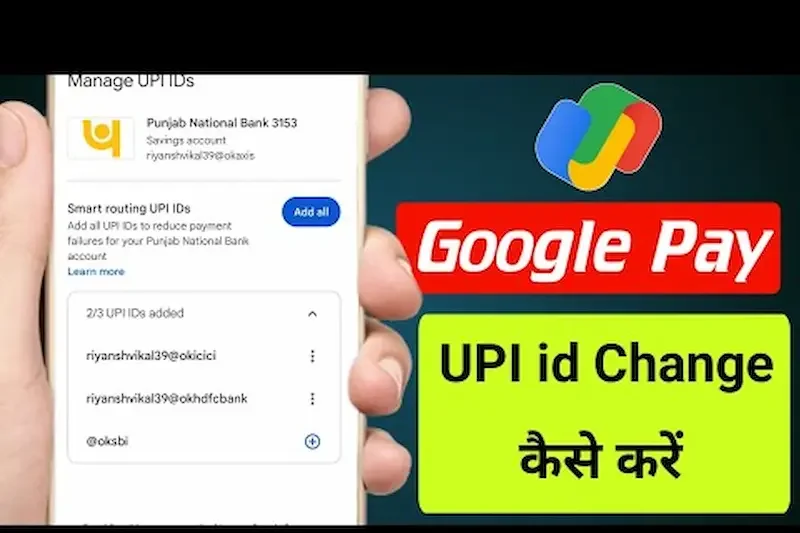
If you are searching for how to edit UPI ID in Google Pay, there is an important point to understand: Google Pay does not provide a direct option to edit the characters of an existing UPI ID. Instead, Google says you can delete an existing UPI ID and create a new one.
Delete and Create a New UPI ID
The process is useful when you want to use a different UPI ID. First, you need to remove the existing UPI ID from the relevant linked bank account. You can then create another available UPI ID from the options provided by Google Pay.
You May Have Multiple UPI IDs
Google Pay allows users to have up to four UPI IDs for each linked bank account. This means you may not always need to remove an existing ID if another UPI ID can be added and meets your needs.
Check the Available Options
The exact UPI IDs you can create depend on the options shown in Google Pay for your linked bank account. If a preferred ID is unavailable, you may need to select another available option.
Before making changes, make sure you understand which UPI ID you are removing and where you want to use the new one.
How to Edit UPI ID in Google Pay
If you want to know how to edit UPI ID in Google Pay, you generally need to delete the existing UPI ID and then create a new one. Google Pay does not provide a direct option to change the characters of an existing UPI ID.
Delete Your Existing UPI ID
Open the Google Pay app and go to your profile or account settings. Find the section related to your bank accounts or UPI IDs, select the relevant bank account, and look for the UPI ID you want to remove.
Select the option to delete or remove the UPI ID and follow the instructions shown on the screen. The exact menu names can vary depending on your app version and account setup. How To Edit Upi Id In Google Pay
Create a New UPI ID
After removing the old ID, return to the UPI or bank-account settings and look for the option to add or create another UPI ID. Google Pay will show the available UPI ID options for your account.
Choose an available ID and complete the instructions provided by the app. Once the new UPI ID is created, you can use it to receive or send UPI payments. How To Edit Upi Id In Google Pay
Check Your New UPI ID
After creating the new ID, verify it in Google Pay before sharing it with anyone. Make sure you give people the new UPI ID when you want them to send money to you.
Google Pay states that users can have up to four UPI IDs for each linked bank account, so deleting an old ID is not always necessary if you can add another available ID.
How to Delete an Existing UPI ID in Google Pay
If you are learning how to edit UPI ID in Google Pay, you may need to delete the existing UPI ID before creating another one. Google Pay treats this as removing the old UPI ID rather than directly editing it.
Open Your Bank Account Settings
Open the Google Pay app and tap your profile picture. Go to the section where your linked bank accounts are listed and select the bank account connected to the UPI ID you want to change. How To Edit Upi Id In Google Pay
Select the UPI ID
Look for the UPI ID associated with the selected bank account. Depending on your Google Pay app version, the available options and menu names may be slightly different.
Remove the UPI ID
Select the option to delete or remove the UPI ID and follow the instructions displayed by Google Pay. Review the information carefully before confirming the removal. How To Edit Upi Id In Google Pay
Create a New UPI ID
After deleting the old ID, you can return to the UPI settings and select an available option to create a new UPI ID. Google Pay will show the IDs available for your account. How To Edit Upi Id In Google Pay
Remember that Google Pay allows up to four UPI IDs for each linked bank account. Therefore, you may be able to add another UPI ID without deleting your existing one if you have not reached the limit.
How to Create a New UPI ID in Google Pay
After deleting an existing UPI ID, you can create a new one from the Google Pay app if the option is available for your linked bank account. This is the main step to follow when learning how to edit UPI ID in Google Pay. How To Edit Upi Id In Google Pay
Open Your Google Pay Settings
Open Google Pay and tap your profile picture. Go to the section for your linked bank accounts and select the bank account for which you want to create a new UPI ID.
Find the UPI ID Options
Look for the UPI ID or payment address section. Google Pay may show one or more available UPI ID options for your account. How To Edit Upi Id In Google Pay
Select an Available UPI ID
Choose the UPI ID you want from the available options and follow the instructions displayed in the app. You may need to complete verification before the new ID becomes active.
Verify the New UPI ID
Once the new UPI ID has been created, check your bank-account or UPI settings to confirm that it is displayed correctly. You can then share the new UPI ID when receiving payments.
Google Pay allows up to four UPI IDs for each linked bank account, so you may have multiple IDs without necessarily deleting an existing one.
How to Find Your UPI ID in Google Pay
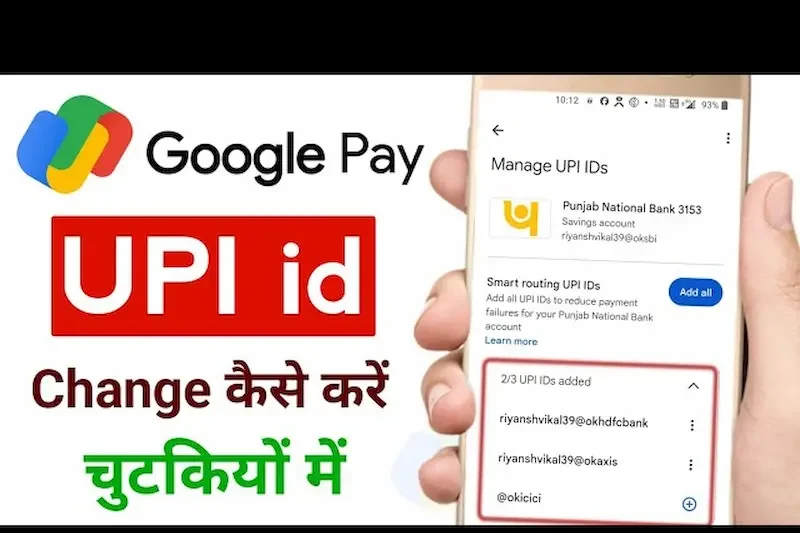
Before changing or sharing your UPI ID, it is useful to know where to find it in the Google Pay app. Your UPI ID is connected to your linked bank account and can be used to receive UPI payments.
Open Google Pay
Launch the Google Pay app on your phone and make sure you are signed in to the correct Google account. How To Edit Upi Id In Google Pay
Go to Your Profile
Tap your profile picture in the Google Pay app. From there, look for the section related to your bank accounts or UPI settings.
Select Your Bank Account
Choose the linked bank account for which you want to view the UPI ID. You should then be able to see the UPI-related information associated with that account.
Check Your UPI ID
Find the UPI ID listed for the selected bank account. If you have more than one UPI ID, check carefully to identify the one you want to use for payments.
If you are researching how to edit UPI ID in Google Pay, checking your existing ID first can help you understand which account and UPI address you need to manage. How To Edit Upi Id In Google Pay
Can I directly edit my UPI ID in Google Pay?
No. Google Pay does not provide a direct edit option for the existing UPI ID. To change it, you can delete the existing UPI ID and create another available one.
How many UPI IDs can I have in Google Pay?
Google Pay allows you to create up to four UPI IDs for each linked bank account.
Can I delete my old UPI ID?
Yes. Go to Bank account > Manage UPI IDs, find the UPI ID you want to remove, tap the menu next to it, and select Delete.
Conclusion
If you are wondering how to edit UPI ID in Google Pay, remember that Google Pay does not offer a direct edit option for an existing UPI ID. Instead, you can remove the existing ID and create another available UPI ID from the Manage UPI IDs section. How To Edit Upi Id In Google Pay
Google Pay allows up to four UPI IDs for each linked bank account, so you may be able to add a new ID without deleting your existing one. Before making any changes, check the UPI ID carefully and make sure you select the correct linked bank account.
