
Your iPhone isn’t just a camera—it’s a powerful photo editing tool. Whether you want to correct lighting, crop an image, apply filters, or add special effects, the iPhone’s built-in tools and apps make editing simple and professional-looking. In this guide, we’ll walk you through everything you need to know to edit photos on your iPhone.
1. Open the Photos App
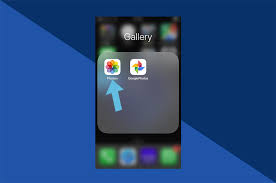
Every iPhone comes with the Photos app, which automatically stores all the pictures you take.
Steps:
- Tap the Photos app on your home screen.
- Browse through your albums or recent photos.
- Select the photo you want to edit.
The editing journey begins here!
2. Access the Editing Tools
Once your photo is open, look for the Edit button in the top right corner. Tap it, and the iPhone will display several editing options.
You’ll see icons for:
- Auto-Enhance (magic wand)
- Adjustments (light dial)
- Filters (three circles)
- Crop/Rotate (square with arrows)
3. Auto-Enhance: One-Tap Magic
The magic wand icon automatically adjusts exposure, color balance, and contrast to improve your photo.
Tip: Auto-Enhance is great for beginners who want quick results.
4. Adjusting Light, Color, and Contrast
For more control, tap the adjustment dial icon. You’ll see sliders for:
- Exposure: Brighten or darken the photo.
- Brilliance: Enhances details in highlights and shadows.
- Highlights & Shadows: Recover detail in very bright or dark areas.
- Contrast: Make colors pop by increasing difference between light and dark areas.
- Brightness: Adjust overall light in the photo.
- Saturation: Intensify colors.
- Black Point: Deepen shadows for a dramatic effect.
- Warmth & Tint: Adjust the color tone of your photo.
Pro Tip: Make small adjustments; subtle changes often look more natural than extreme edits.
5. Apply Filters for Instant Style
Filters give your photo a specific look or mood with just one tap. Tap the three-circle icon to explore:
- Vivid: Boosts color intensity.
- Dramatic: Adds shadows and mood.
- Mono or Silvertone: Black-and-white photography.
- Tonal: Soft, natural edits.
Tip: You can combine filters with manual adjustments for a unique effect.
6. Crop, Rotate, and Straighten
Cropping allows you to focus on the subject and remove unwanted areas. Tap the crop icon:
- Rotate your image by turning the dial.
- Straighten crooked horizons with the slider.
- Change aspect ratio for social media (square for Instagram, 16:9 for landscape).
- Flip or mirror your photo if needed.
Example: Crop a large group photo to focus only on the main subjects.
You may also like it:
Amazing Aarya Movie Songs You Shouldn’t Miss – Aarya Editz
Inspiring CB Photo Editing App For Android – Aarya Editz
Arya Wallpaper – Stylish Wall Decor For Every Room – Aarya Editz
7. Remove Red-Eye and Blemishes
iPhone has simple tools to fix imperfections:
- Tap red-eye correction when editing portraits with flash.
- Some iPhones allow skin tone and blemish correction via third-party apps.
Tip: Don’t overdo corrections; aim for natural-looking results.
8. Add Text, Markup, and Drawings
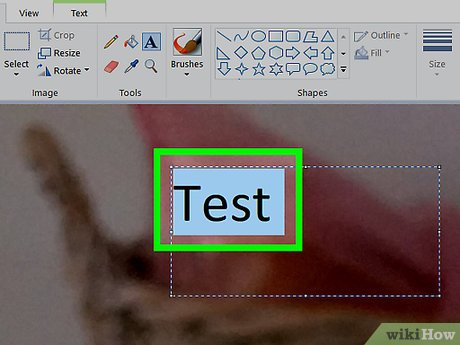
For creative projects or social media, you can add:
- Text labels with different fonts and colors.
- Shapes or arrows to highlight areas.
- Drawings or doodles with your finger.
Tap … → Markup in Photos to access these options.
9. Save Your Edited Photo
After you finish editing:
- Tap Done to save changes.
- To revert to the original photo, open the photo again → tap Edit → Revert.
Tip: iPhone keeps the original photo, so you can always start over.
10. Advanced Editing with Third-Party Apps
For more professional results, try apps like:
- Snapseed: Free app with selective adjustments, filters, and healing tools.
- VSCO: Offers creative filters and advanced color editing.
- Adobe Lightroom Mobile: Professional-grade editing with curves, color grading, and RAW support.
Tip: These apps give more precise control than the built-in Photos app and are ideal for photography enthusiasts.
11. Export and Share
Once your edits are complete:
- Tap the Share icon in the Photos app.
- Share directly to social media like Instagram, WhatsApp, or Facebook.
- Save the edited photo to Files or iCloud for backup.
Pro Tip: Export photos in high resolution for printing or professional use.
12. Tips for Better iPhone Photo Editing
- Use natural light whenever possible. Avoid heavy artificial light.
- Shoot in RAW (if your iPhone supports it) for higher-quality edits.
- Keep edits subtle; extreme adjustments can make photos look unnatural.
- Experiment with apps to find your editing style.
- Organize your edits in albums for easier access later.
Conclusion
Editing photos on an iPhone is simple yet powerful. With the built-in Photos app and optional third-party apps, you can enhance, crop, filter, and share your pictures effortlessly. Whether you’re a casual user or a photography enthusiast, mastering these tools can make your photos stand out professionally.
FAQs (Frequently Asked Questions)
Q1: How do I edit a photo on iPhone?
A1: Open the Photos app, select your photo, tap Edit, and use tools like Crop, Adjust, Filters, and Auto-Enhance to improve your photo.
Q2: Can I revert edits on iPhone photos?
A2: Yes! After editing, tap Edit → Revert to restore your photo to the original version without losing it.
Q3: Are there free apps to edit iPhone photos?
A3: Yes, popular free apps include Snapseed, VSCO, and Adobe Lightroom Mobile, offering advanced tools and filters.
Q4: How can I make my iPhone photos look professional?
A4: Use natural light, adjust exposure and contrast, apply subtle filters, and crop to focus on the subject for a polished look.
Q5: Can I add text or drawings to my photos on iPhone?
A5: Absolutely! Tap … → Markup in the Photos app to add text, shapes, or doodles to your pictures.
